Step 1: Determine the Type and Color of Paint You’ll Need
Paint is a combination of 4 fundamental ingredients: Pigment, which is also the color. Resin, which is the glue or binder. A solvent is what makes it liquid, and once the paint dries, it evaporates. Additives prevent stain from sticking and kill mold.
It is much better to invest in high-quality paints regardless of the price. Cheap paints have a higher amount of solvents than Resin and Pigment, and so, what you apply mostly to your wall, is the liquid. When it dries, it is almost impossible to note the color of the paint, which will cause you to recoat multiple times to get a satisfying result.
To curb this, make sure your paint has a good percentage of pigment and resin. The list could be 45 percent per volume. This will save you time and paint coats.
There are different types of paints for different surfaces and areas of your house. They are:
Water-Based Paint
This is also known as latex and is the most popular type of paint used in the home. This is because of its affordability and durability.
| Pros | Cons |
|
|
Oil-Based Paint
This is also called Alkyds. This paint dries slowly and consists of pigment particles that are suspended in drying oil, the most common being linseed oil. It is perfect for blending colors without it being obvious.
| Pros | Cons |
|
|
Paint Finishes

Add luster and shine to the color of your paint. There are five types of it, each with its use.
Eggshell
This paint looks and feels flat and has only a slight gloss to it. It reflects more light than Matte paint and has less luster. It is perfect for areas like the bedroom, dining room, and ceilings where dirt does not accumulate.
It does not shine so much, so it can conceal mistakes and has little glare. However, it is very hard to adjust this paint. Due to its light sheen, touch-ups are almost impossible as they would be quite obvious.
Matte
This is also called flat paint. It has the lowest level of shine in comparison with other finishes. It is perfect for coverage and hides mistakes very well.
It contains a velvety texture and has a small amount of glare. This paint is not very durable, though, and can be hard to wash off.
Satin
This is the most popular paint sheen. It is kind of like eggshell paint, but with a little more gloss. It is perfect for areas such as the kitchen, family room, playroom, and laundry room because it is easier to clean off than matte and eggshell paint.
Unfortunately, this finish is more likely to expose brush strokes because of its shine, making it a little tough to do touch-ups in the future.
Semi-Gloss
This paint is reflective and shiny. It is very durable and can block mildew, making it perfect for rooms like the bathroom, kitchen, and kids’ room which is prone to getting wet.
It is also perfect for trims. It tends to reveal imperfections though, because of how shiny it is.
Gloss
This is the highest form of paint finish. It is mainly used on doors, cabinets, and trim because of how durable it is. It reflects a lot of light, which makes the little details in our color pop.
It is also great for outdoor things such as shutters. A lot of prepping is to be done before using this paint because, if used incorrectly, it can expose a lot of imperfections.
There are a few things to consider before picking a paint finish, such as:
Traffic
It is important to take note of how busy a room will be before applying a finish. Areas such as the kitchen, and the kids’ room, will require finishes that are very durable, like semi-gloss and satin. Less busy rooms like the dining can manage with eggshell and matte.
Paint Sheen
The luster of paint finishes varies. Paints like eggshells and matte have little to no luster, while satin, gloss, and semi-gloss are shinier. The dimmer the room, the shinier the finish should be, and vice versa.
Surface Imperfections
Paint finishes are often used to conceal imperfections. The shinier the finish, the more imperfections it will display. It is advisable to use less glossy paint finishes to prevent noticeable mistakes.
There are a variety of paint colors available to us, and while it’s fun and easier to go wild when choosing colors for our home, it is important to take note of the types of colors and which ones are perfect for where and why.
While some colors may look good on the inside of a home, that doesn’t necessarily mean they will work on the outside. Chances are that when you go to buy your paint from the store, you are handed a catalog of different parts of the home. Still, the most popular and safest choice remains white as it matches with everything, attracts the light and opens up the room.
Here are some common colors for the interior parts of your home and why it’s suitable there.
The Living Room
This is sometimes called the family room. It is usually the first room one enters, in a house. Colors like green, gray, blue, beige, are usually the go-to for this part of the house because of their neutrality and coziness. These colors offer a relaxed atmosphere which is often carved after a hectic day.
The Kitchen
This is one of the busiest rooms in the house. Light and happy colors such as yellow, sky blue, lemon-green or neutral colors like white and cream are opted for to make the room feel more relaxing.
The Bathroom
This is the most private room in the house, but that doesn’t make the color choice any less important. The go-to colors are light blue, soft gray, light green, taupe, and bright white. These colors are cozy and do not attract a lot of attention to themselves. They set the perfect mood for one to relax and think, which a lot of us do in there.
The Dining Room
Colors have a way of affecting one’s appetite, and so, it is always wise to choose suitable ones for the area where you will eat. Some suitable colors are red, subdued orange, yellow, turquoise, and green. These colors encourage liveliness, and comfort which makes them ideal for that area.
The Bedroom
This is a personal and private room, so the color is usually dependent on the occupant. Some general favorites are blue, pink, red, green, and gray. The choice of color of a bedroom tells much about the personality of the owner.
Some of the most popular colors in 2021 are warm neutral colors that come in hues of grey, beige, brown, yellow and orange.
Step 2: Determine How Much Paint You’ll Need
Another thing that can help you save money when you paint yourself is to be sure of the amount of paint you will need. This will help you not to overspend and then have excess paint that you may never use.
First of all, determine whether you’ll need a primer or not; paint primer is basically the undercoat of the actual paint. Priming the wall before painting it, enhances the color of the paint. This is especially useful when using paints that have more solvents than pigment and resin. It can also help to cover surface imperfections.
Some may decide not to use a primer and instead purchase paints that include a 2 in 1 primer. While this may seem like a good idea to save money, it is important to weigh the pros and cons of this venture.
| Pros | Cons |
|
|
Next, you’ll have to calculate how much paint you’ll need; this might be very tricky to do, but it is very vital to help save money. How can you do it?
- Begin by summing up the length of the wall you want to paint from each extreme.
- Then, measure the height of the walls, from the ceiling to the floor.
- Multiply both numbers to get the square footage of the room you want to paint.
- To finish, divide the total number you get, by the coverage of one gallon, which is approximately 360 Square Feet per gallon.
Wall length × Wall height / Coverage of one gallon
This will tell you how many gallons of paint you need for a single coat of paint on the walls. Keep in mind that you may need more than one coat for satisfying results.
Step 3: Get Painting Supplies
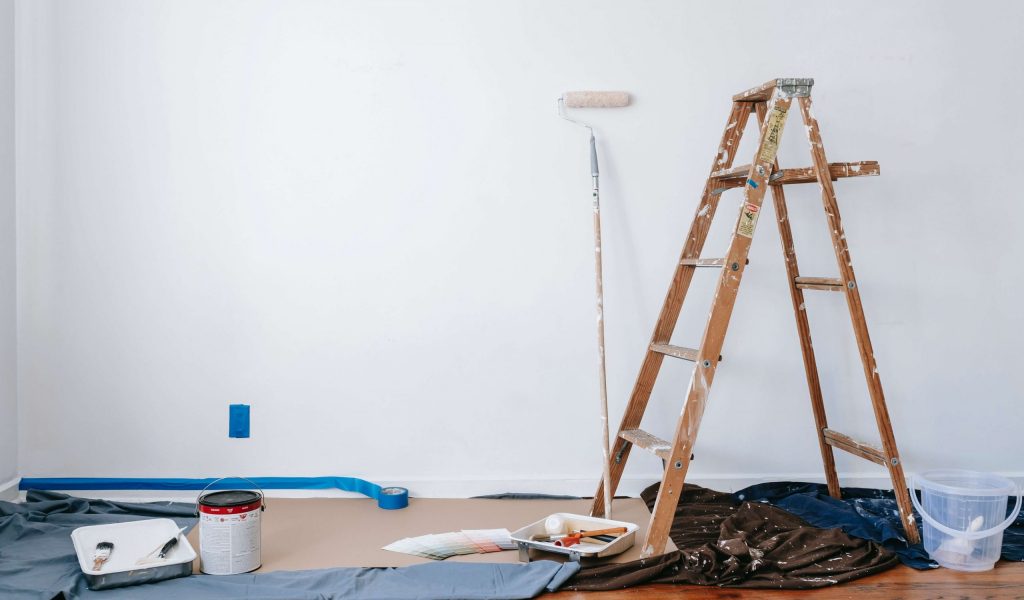
Now, you’ve got your paint down, you’re going to need tools. There are a lot of tools needed, but let’s go over some of the main ones:
- Masking tape – buy a thicker tape, to avoid going over the tape with paint.
- Brushes – these come in sets and vary in size. Be sure to buy a complete one to avoid unnecessary delays and mistakes while painting
- Rollers – to test the core of the roller, use your thumb and index finger to push down on either side on the end of the roller. You should not be able to close the opening.
- Wall cleaners- you could also use a little bit of water and a sponge to get surface dirt off of the walls, before painting.
- Paint Brush cleaner – ensure the cleaner is properly covered to avoid wastage.
- Roller trays – purchase a heavy-duty plastic tray instead of a metal one. Latex paint does not stick on it.
- A sturdy ladder- invest in a standard 6 ft aluminum ladder that supports your weight.
- Mask – very important to protect yourself from paint fumes.
- Protective sheets – get the canvas and the plastic-type for effectiveness.
There are other supplies that are not necessary, but useful nonetheless, such as:
- Paint key – thus is used to open paint cans, but a standard flat-headed screwdriver works just fine as well.
- Plastic tube – this is used to cover wet rollers if needed the next day.
- Plastic tray liners – this wouldn’t be required if you had a hard plastic paint tray of good quality.
Tools to help with the application of paint such as a corner painter are very useful and can be found at any hardware store.
Step 4: Prep the Walls for Painting: Masking and Protecting
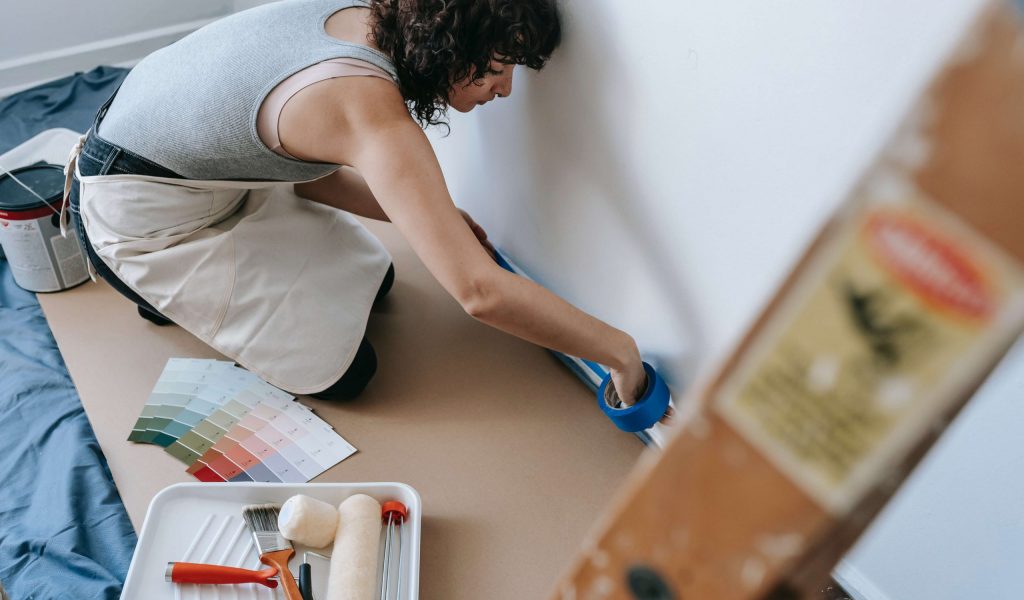
This step will make it easier to paint over a wall with minimal errors. To prepare your house for painting you’ll require:
- Masking tape.
- Painters tape.
- Paper drop cloths.
- Plastic sheeting.
- Fabric drop cloths.
Here are some helpful tips for masking and protecting a room:
- Cover any hanging fixtures with a garbage bag.
- Mask the wall with painter’s tape when painting base trim corners.
- To protect stairs, corners, and carpeted floors, use a plastic drop cloth and a canvas drop cloth together.
- Use a putty knife to seal a masking tape against a glass. Remove the tape as soon as the paint sets.
Step 5: Use the Right Wall Painting Techniques
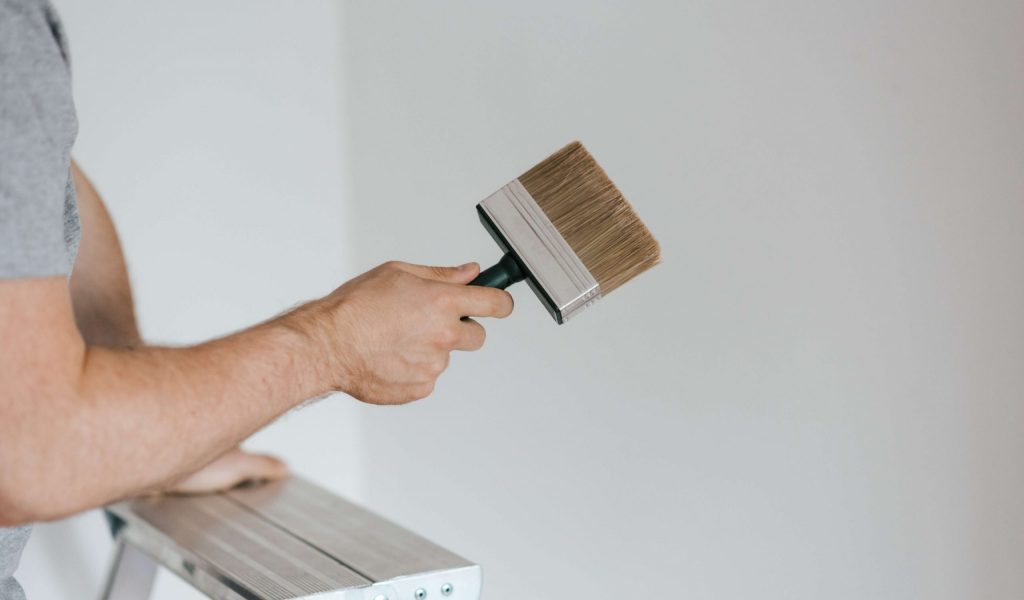
Painting requires a good amount of skill that takes years to acquire. For some, this may be your first time painting yourself, and it might seem as easy as rubbing paint on the wall, but it’s beyond that. If you do not have the required techniques, then your paint job may not give you desired results.
Painting a wall seems easy enough, but painting a ceiling, corner, window trim and more, will prove to be challenging. Here are a few tips to help you;
- Put down drop cloths and paint the top of the walls before painting the ceiling.
- Cut the corners and prime the ceiling.
- To paint corners neatly, press the tip of your brush to the wall and slowly stroke your brush in a perpendicular way.
- Wiggling your brush a little allows for the brush to enter into tight corners.
Step 6: You’re Done Painting, What Now?

Finally, after long hours of rigorous stroking, priming, prepping, and masking, you’re done painting, what next?
Obviously, you have to leave it to dry. The duration of this can differ, depending on the type of paints and finishes you used. Oil-based paints take a longer time to dry than latex paints. It is important to let the paint dry, to know just how many more coats should be applied. You can do this, by leaving windows open, and allowing cross ventilation.
As the paint dries, clean and store your supplies properly. This is important to avoid damaging your tools, and they can be used again. If you use latex paint, you can wash your brushes with soap and water. Oil-based paints require stronger chemicals.
If your paint is dried up, apply a second coating if needed. This will ensure your paint job is more attractive and lasts longer.
Once you are done, clean up your surroundings by putting your materials in their proper place. This is to avoid clustering and accidents.
Frequently Asked Questions About Painting
How Much Does it Cost to Paint a House?
The cost of painting a house can vary depending on the size of the places you wish to paint, and the cost of materials needed.
On average, painting a house costs $2,901. Ranging from 600 dollars to almost 7000 dollars. Much of the cost does not come from the paint itself but the materials and labour. Painters charge on average $40 per hour in Canada. So, to save money, buy only the materials you do not have available.
How to Get Paint Out of Clothes?
It is inevitable to get paint on your clothes, and getting them off will prove to be a real challenge, depending on the type of paint. Latex paint can be removed with a good scrub using detergent and warm water.
How Do you Get Paint Off the Floor?
You can wash paint with detergent and warm water. If the paint dries on hardwood and linoleum, use a scraper instead.
How to Paint a Ceiling?
- Get your ladder, tape, brush, roller, extraction pole, and tray.
- Tape around corners and edges and down any lights.
- Use a brush to paint the corners.
- Using the roller, start in the corner, and move in a parallel motion fluidly. Roll as far into the brushed sections as possible.
- Once done with a large part of the ceiling, lay off the paint while it is still damp. This will make it smooth.
- Wait for the first coat to dry before applying the second coat.
How Can you Open a Paint Can?
You could use a paint key, but if not available, use a flat-headed screwdriver.
Can you Paint Tiles?
Yes, you can. You will need a special epoxy or tile paint.
Does Paint Expire?
If stored properly, paint can last up to 2 years unopened.
How Long Does it Take to Paint a Room?
It takes a painter about 3 hours to paint the first coat in an average-sized room and 2 days if a second coat is needed. This involves prepping, priming, and painting.
Conclusion
Painting a home is not an easy task, but the results are worth it. The steps above will help you save money and still get desired results when painting at home.
- Determine the type and color of paint you need.
- Determine how much paint you’ll need.
- Get painting supplies.
- Prep the walls for painting.
- Use the right wall painting techniques.
What are you waiting for? Go get painting!
